Tuesday, 28 May 2013

Leftovers - Gerrano Breads

Allow me to introduce you to the Gerrano Bread
 I did mention in "Mediteranean Flat Bread" that I would do a post on these wonderful, little breads. They are one the best ever ways of using leftovers and turning them into something so delicious, you have just got to try them.
 I first saw them made by Jamie Oliver on the same Happy Days tour that I mentioned in both my curry and pizza posts and have not forgotten it since. He had made a pizza and so he then wrapped all of the surplus toppings in this leftover dough. This dough ball was then stuffed in a terracota plant pot and left to rise. As the concert went on, the bread rose...and rose and then at the end of the concert, he suddenly remembered that it was cooking and so, after all that, he burned it! 
Try cooking it in a floured pot...
 Anyway, it seems such a terrible shame to waste any surplus dough when making pizzas so a gerrano bread is the perfect way to make sure that nothing gets binned that doesn't need to be. It also avoids you chucking stuff out from your fridge that you don't have any idea what to do with: hams, cheeses, tomatoes, etc so they're just brilliant! A terracotta pot isn't mandatory but they sure do make for a real groovy bread. Just flour a flat tray of some sort, it does the job just as well.

 Time: 5 mins prep, 1 hour rising, around 25 mins cooking

 Serves: Yourself!

 RECIPE:
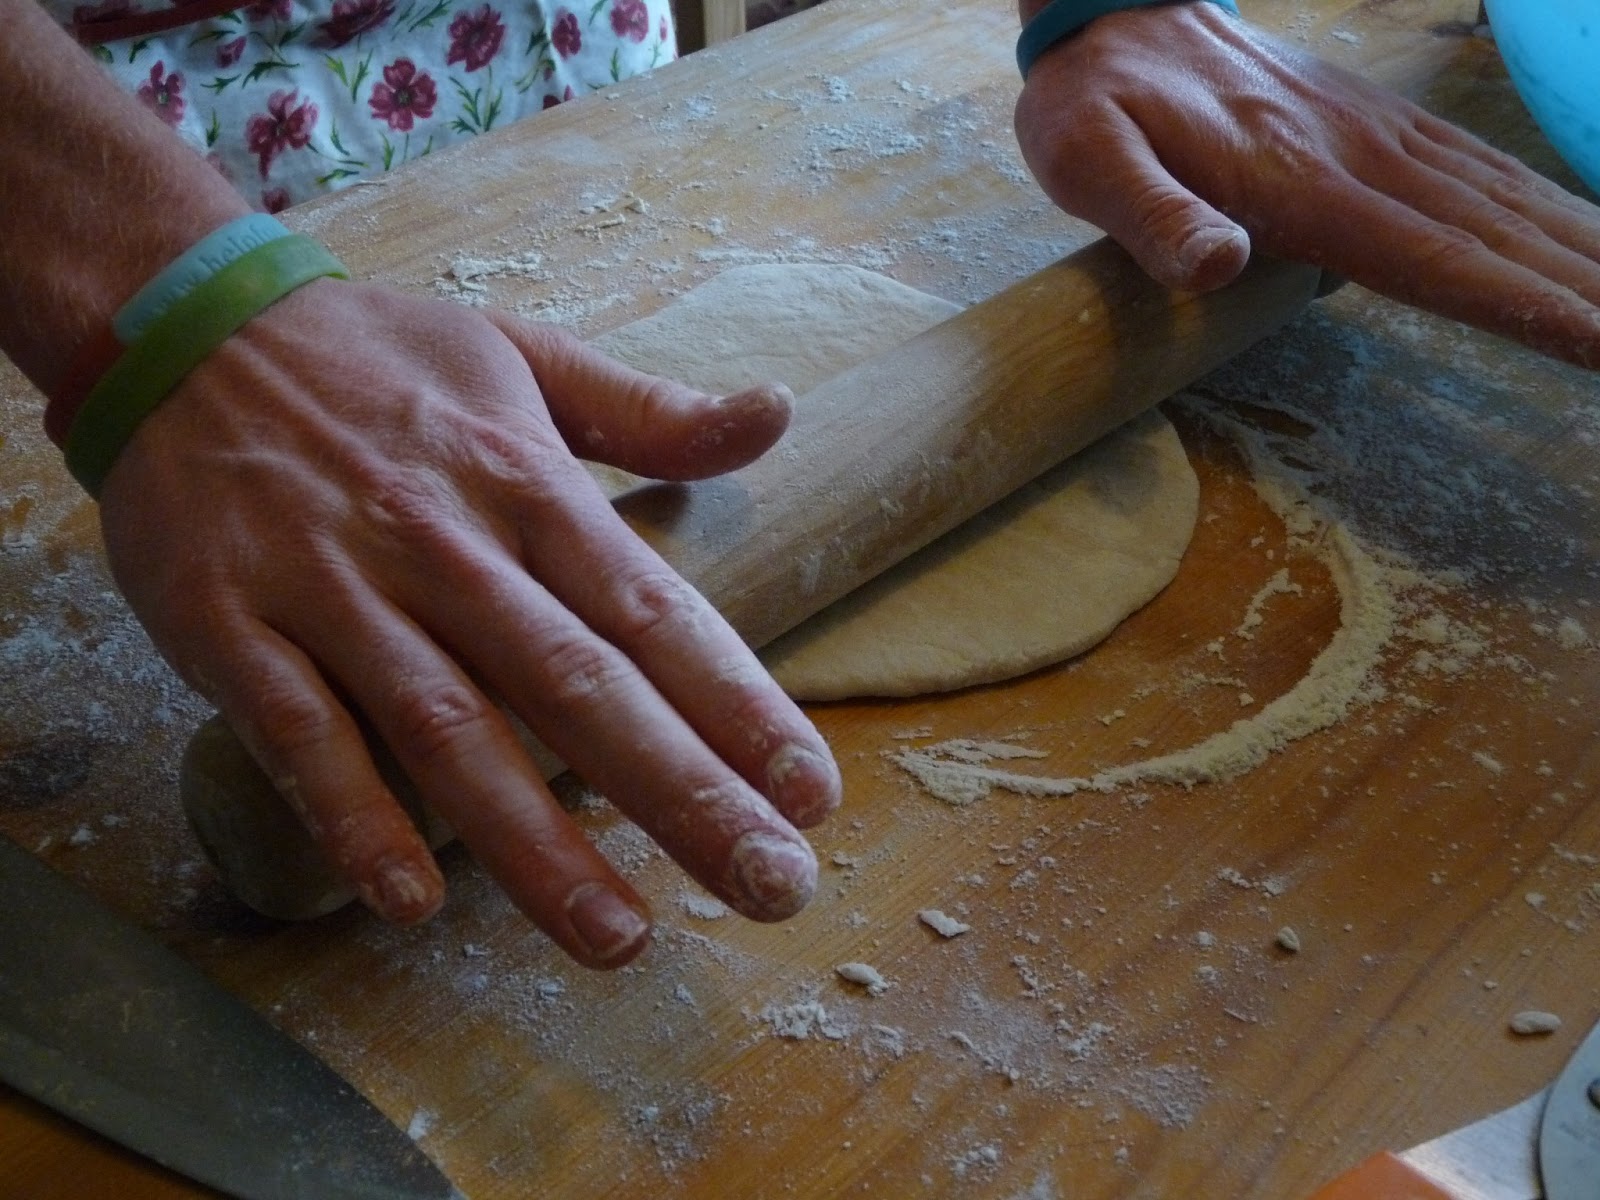
Don't roll it too thin...
Lidl's Combino tomato sauce
 1) Flour your surface, hands and rolling pin and roll out your leftover dough but not too thinly. Smear with some tomato sauce (Combino from Lidl works a treat but leftover bolognese makes for a delicious bread too), sprinkle with some grated cheese or tear up mozzerella and ham, chicken, bell peppers, diced red onion, sliced chillies, whatever "floats your teapot" or was it "rocks your float"...I can't remember. I like a little sweetcorn in mine sometimes but that's me and I can be a tad strange.
 2) Once you have all the fillings that you desire, wrap up your dough carefully, pinch it together and flip it upside down onto a floured tray. Drizzle with a little olive oil and let it rise for an hour or so.
What's good in the fridge?
Kinda cute isn't it?
 3) Preheat your oven to 200 degrees or so and cook your bread until it starts going a little golden. It should take no more than half an hour so keep an eye on it. When it's cooked, let it cool a little and then place it on a rack for a bit before cutting it open and tucking in!


 You can eat it hot or take it to work, on a picnic, as I said, whatever takes your fancy. Have a go yourself everyone, the results are most rewarding. Waste not, want not! I have not tried this but what about a left over curry or chill con carne gennaro bread?

 Seasoned with Thriftiness,

 Jacob

Fold it together...
...and pinch it shut


Yes, my apron has ducks and frogs on it


"To glorify my Savior, Jesus Christ, the Creator  
of the universe and spread further abroad His glorious gospel." - Yours Truly

Friday, 24 May 2013

Watermelon Carving

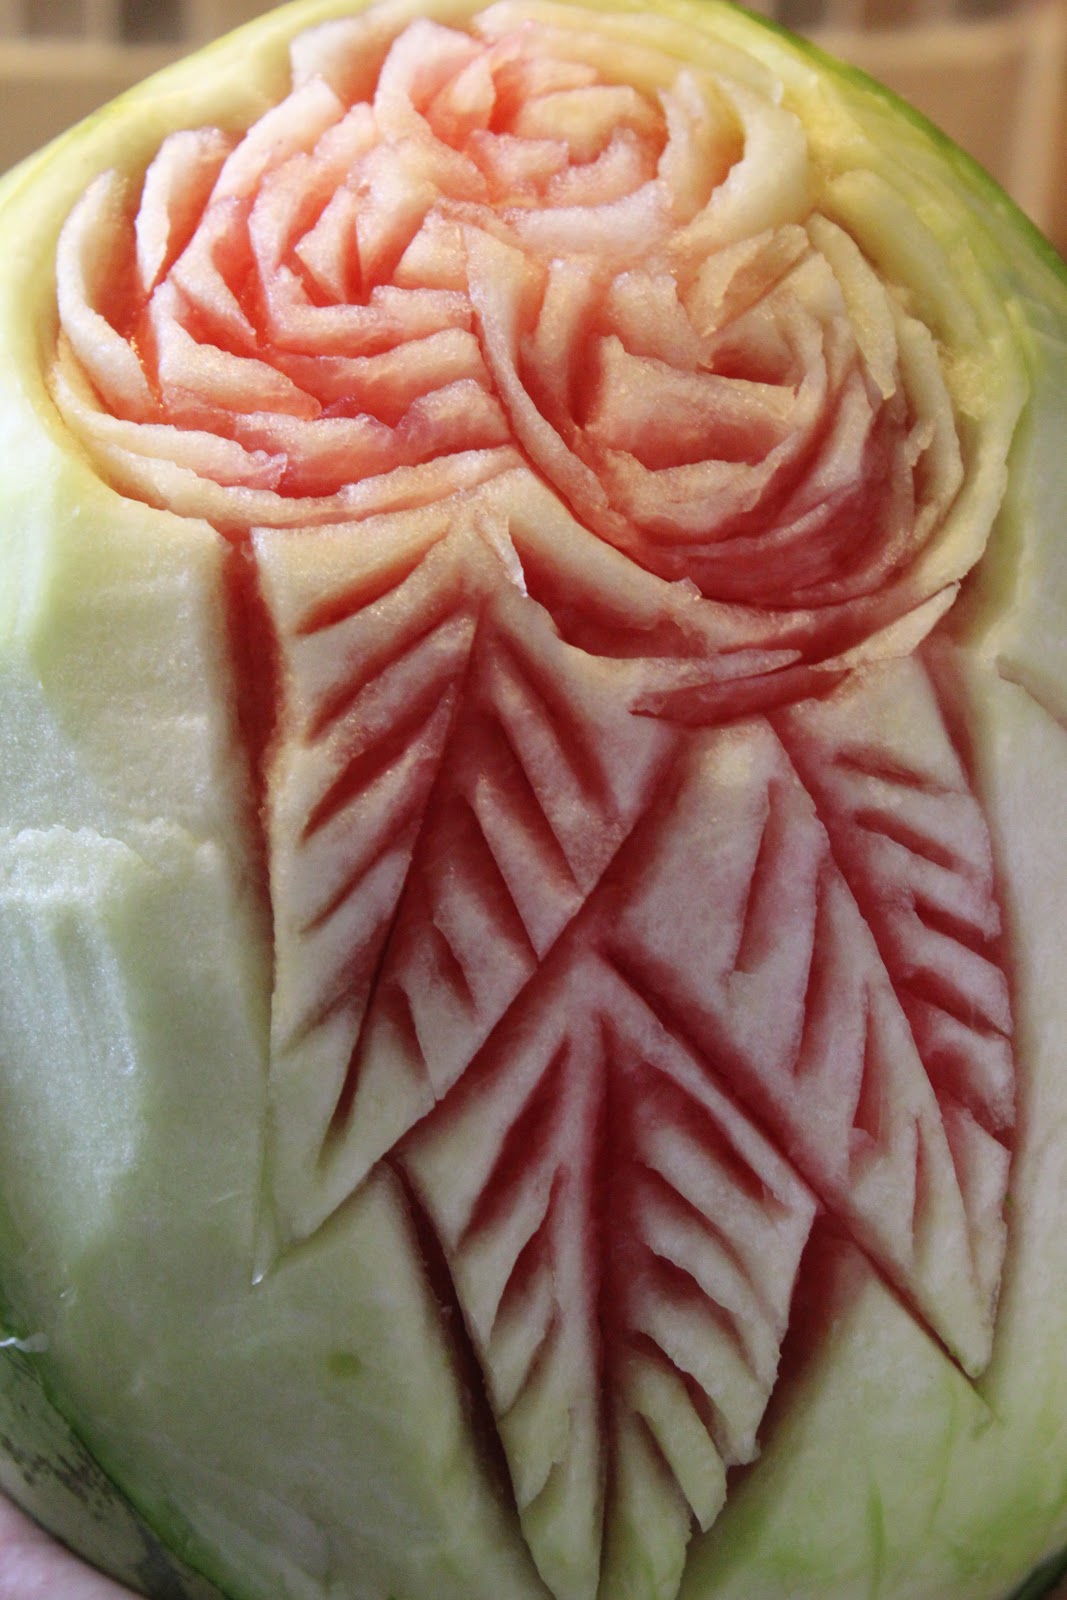
My first attempt.


 Now, you may have seen a glassblower tinkering away, perhaps a carpenter making a chess piece pepper grinder or even an ice sculptor at work but you can't eat such artwork. So let me introduce you to fruit carving! I had never heard of it until I saw a video slide show on YouTube earlier last year of these amazing Asian chefs creating some phenomenal table displays with these absolutely mind-boggling 3D designs carved into the sides of these huge hunks of fruit. I was blown away! There they were with needle-like knives, bent over with such intent faces of concentration, slowly but surely carving out the most intricate of designs. Much like these...
 OK, confession time: I can be very competitive by nature. So, as I watched a few more videos I began to think, "You know what? That doesn't look that difficult..." Within the next few days, I was in the fruit section of Lidl with a huge watermelon in the trolley.
Not mine as yet but the possibilities are just endless...
 A few things to consider before you start. You will need a good, fresh watermelon. When carving a watermelon you are working with four colours: The dark green outer peel, the lighter green just after that, the white flesh and the red flesh. If your watermelon is fresh then these four colours are much more distinguished. The knives that you will see the professionals use are so much easier if you are wanting to go really detailed but you will mostly get away with a regular paring knife. You will often also need a melon baller and  what's known as a "lazy susan" or a "dumb waiter".
You'll find that the professionals
will use knives similar to these.
Not a whole lot of skill required but
it's still among my favourites.
It's cute and kid's will love it!
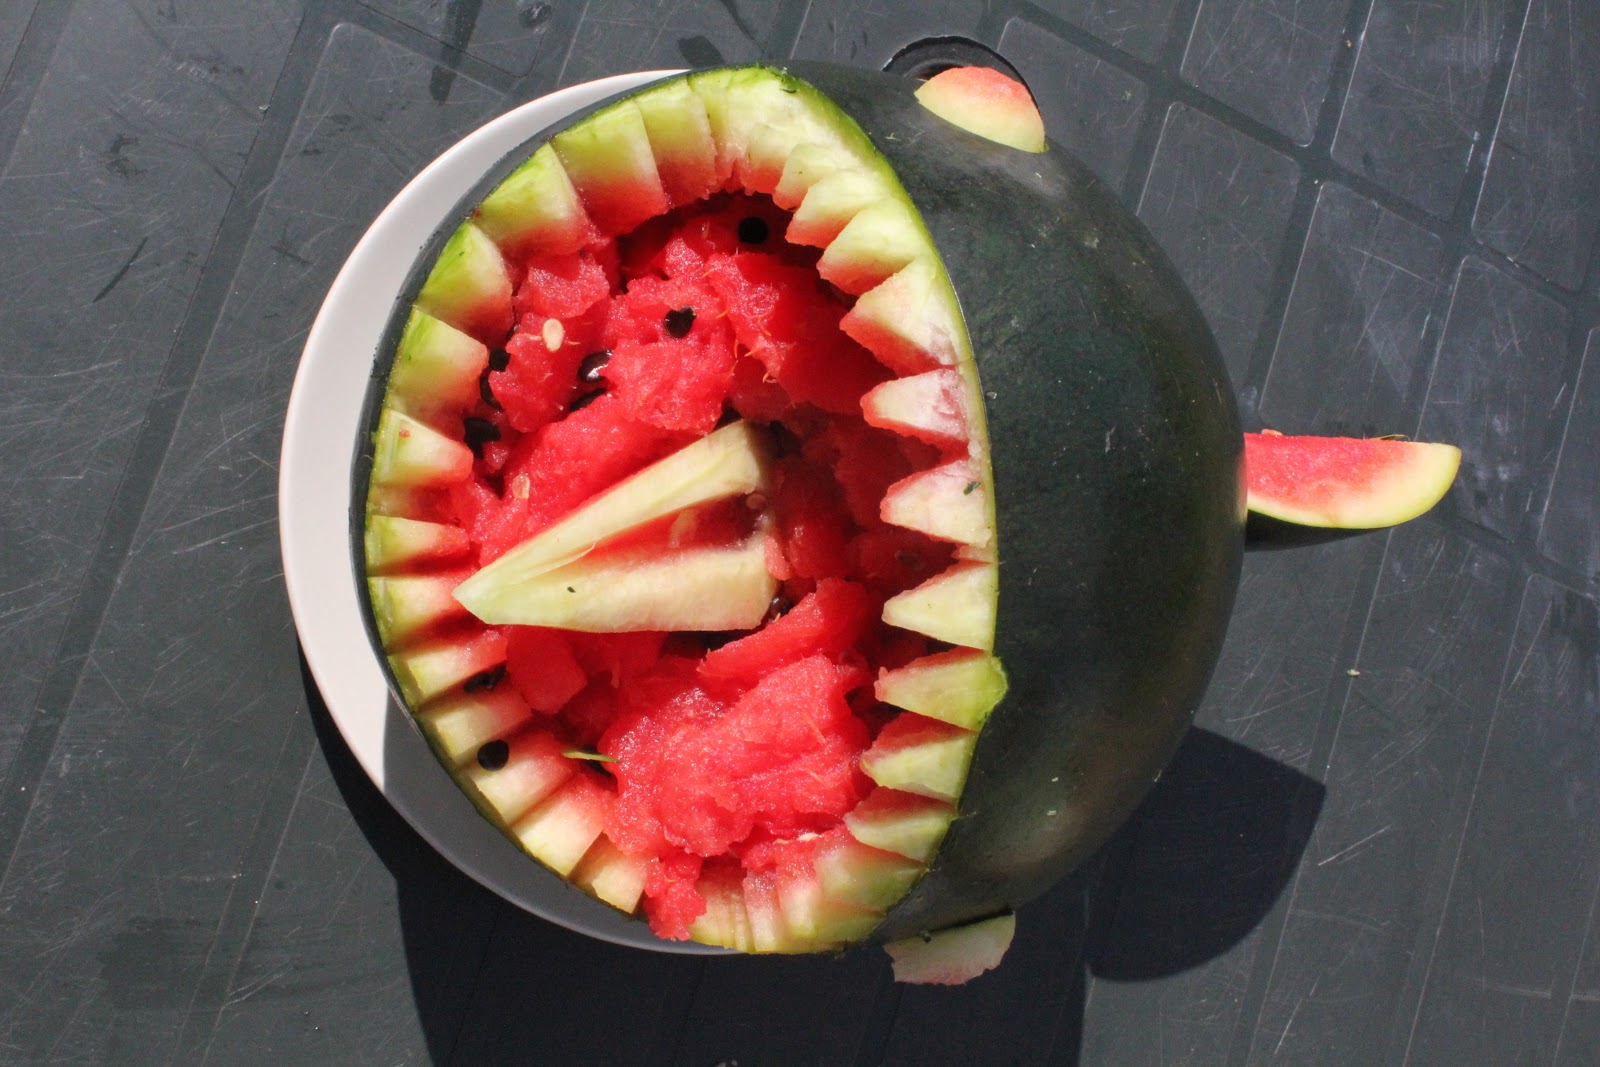
 Above, you will see that I went for a surface design of roses. Surface designs can often be much more precision based and rather tricky but you can do something shell based such as a pram full of balled melon and other fruits, a peacock which can look most regal, or this rather cute turtle to the right. It's up to you and how adventurous you feel at the time. Below is a shark's head which I enjoyed doing.
 There are a bazillion tutorials on YouTube so get on the net and keep your eye out for a design you like the look of.


I did this outside for a few kids at a birthday party.  It took only a few minutes but the crowd loves it!
"I don't bite, mate. Honest..."

As you can see, this is the wrong knife and I am holding it
precariously by the blade!  Don't try this at home. Wait for the right tools.
Watermelon carving demands a steady hand!
Keeping an eye on all the blades...

Entertaining the crowd!


"To glorify my Savior, Jesus Christ, the Creator  
of the universe and spread further abroad His glorious gospel." - Yours Truly